Robotics Made Simple: Playing with LeRobot and SO-101
The latest breakthroughs in LLMs show that AI is rapidly moving into new domains — including robotics. I’ve been following this space closely and often ask myself: how will these new models change the way we train and control robots?
So when I came across the LeRobot project from Hugging Face, I realized it was the perfect chance to “get hands-on with the future.”
What is LeRobot in a nutshell?
LeRobot is a python library designed for learning and controlling real robots. It tackles two major goals:
- helping beginners quickly get started with experiments,
- creating a unified way to collect data for training robotics models.
If you’re comfortable with Python, installation is as simple as a pip install — nothing fancy. LeRobot doesn’t require ROS or other heavy frameworks to be installed.
However, if you’re new to Python, I strongly recommend taking at least a basic course on Udemy or any other learning platform. While you can still train and run your robot using command-line, going deeper into experiments will be tough without at least beginner-level Python skills.
Where I Started
Out of all the supported robots, I decided to go with the SO-101. It’s simple enough for beginners, and you can even find a handful of YouTube videos showing how others are using it. Unlike more advanced options such as Hope Jr. or production-grade manipulators like the Franka Emika arm (which can cost several thousand dollars), the SO-101 is refreshingly affordable — around $200–400, depending on whether you 3D print and assemble it yourself or order a complete kit.
Playing with MuJoCo was fun for a while, but I wanted to see the SO-101 in real life. Since I didn’t have a 3D printer, I ordered the kit directly from WowRobot. There are a few other places where you can buy it, but I simply liked the design of this website more 🙂 — no other reasons involved.
Honestly, that turned out to be the best choice: instead of getting stuck fighting with simulators, I soon had a real robot moving on my desk.
I ordered the unassembled kit with the follower and leader arms, plus one camera. After about a week of waiting, this box arrived:
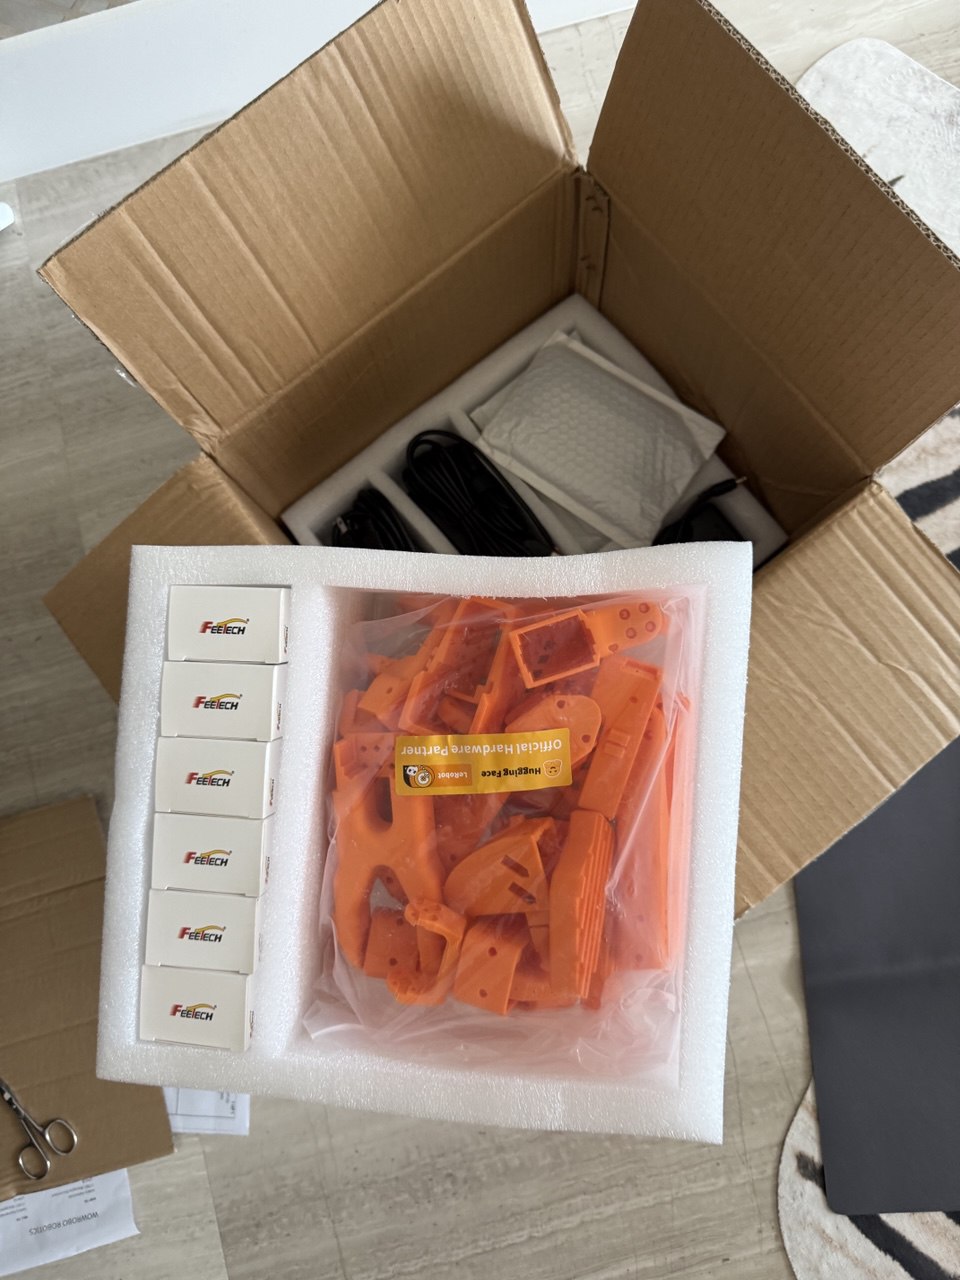
The assembly and calibration process took no more than a single evening — I simply followed the official guide. Just be patient and don’t rush through the steps.
Of course, I did run into a few issues. At first, I assembled the gripper incorrectly, which caused the calibration process to fail — that’s why my follower arm behaved strangely. After a few deep breaths and a careful check, I found the mistake, reassembled the robot, recalibrated it, and everything started working correctly.
On Linux, there was another small hurdle: it wasn’t obvious at first that I needed to run sudo chmod 666 on the USB ports connected to the robot. If you read the documentation carefully you’ll catch this, but it’s easy to miss at the beginning.
What It Looks Like
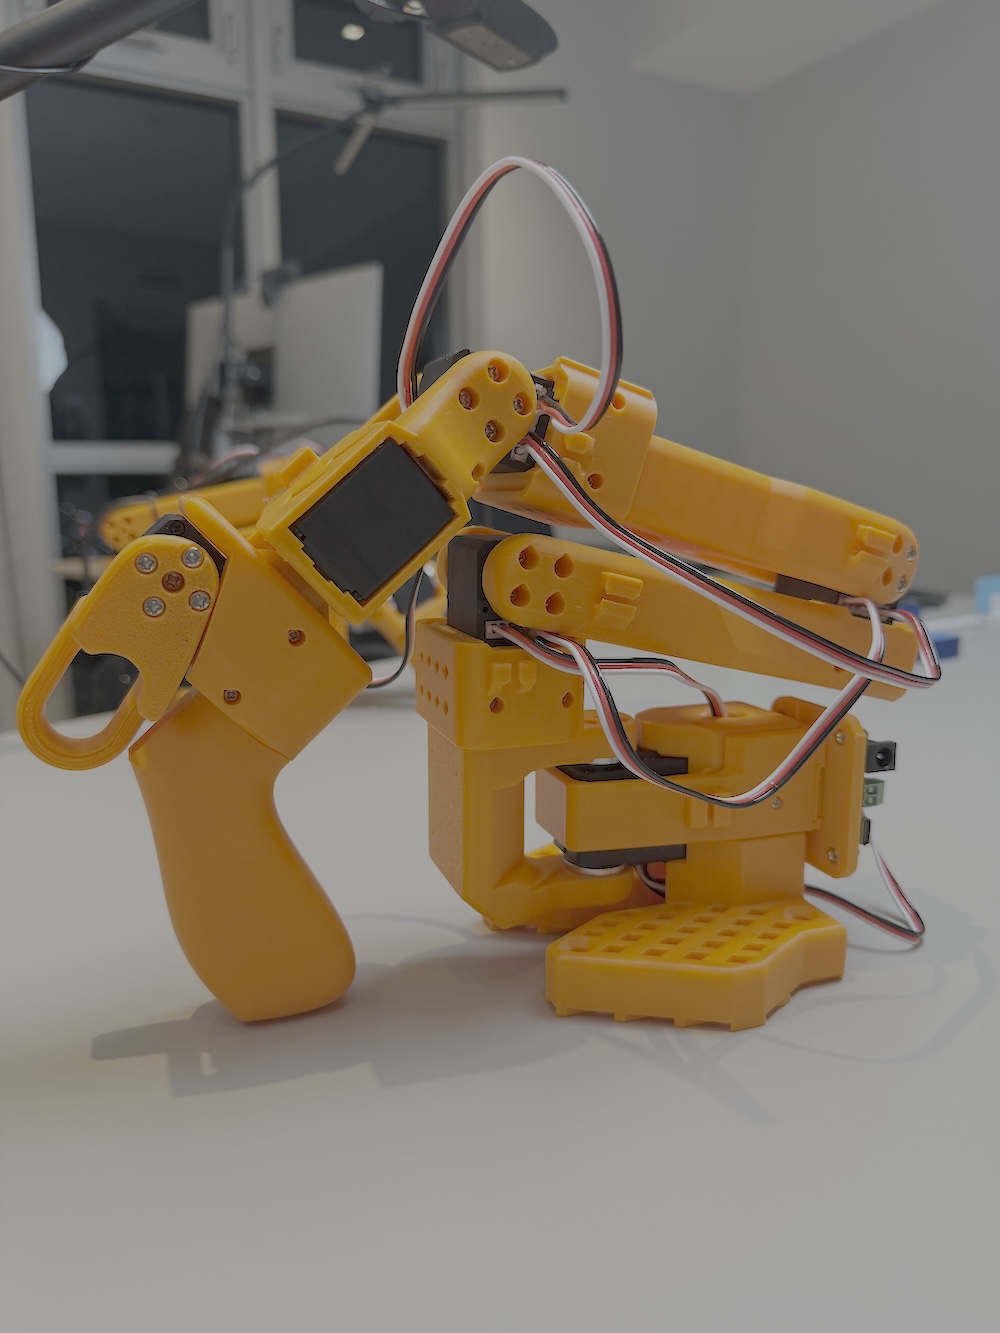
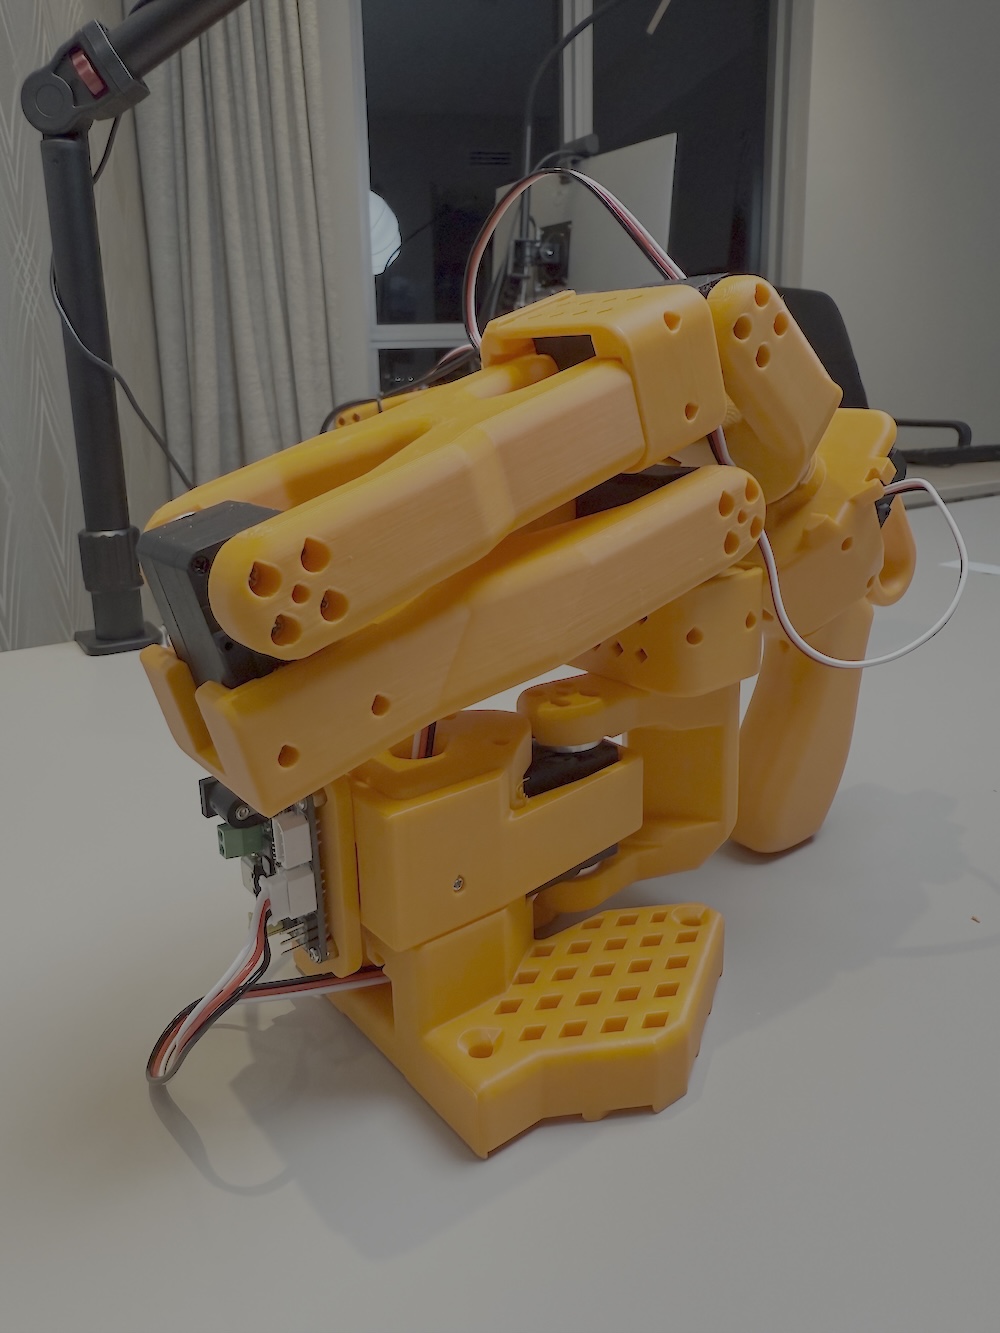
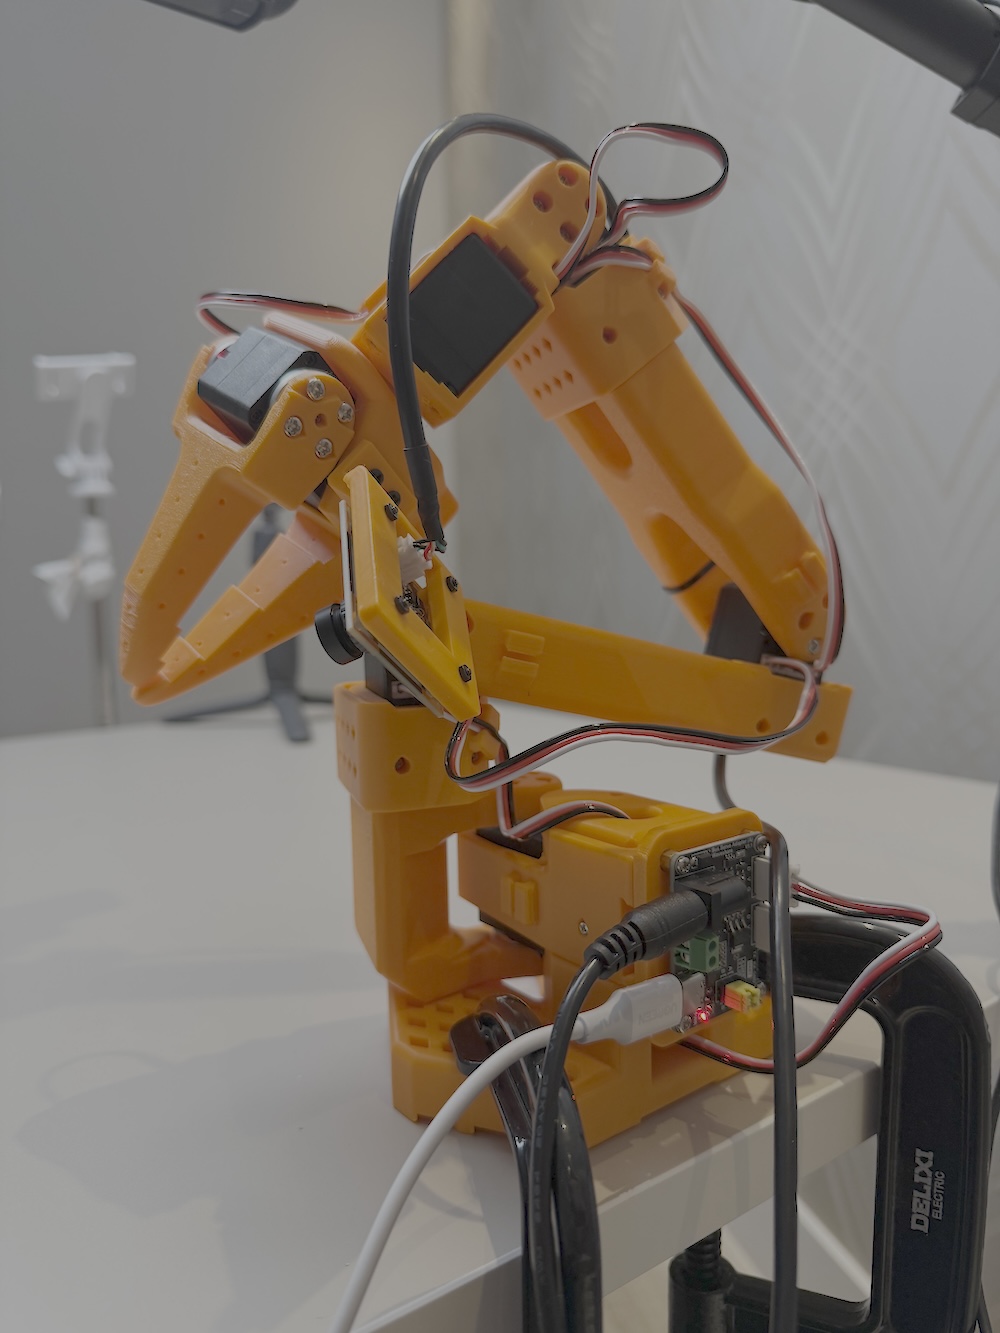
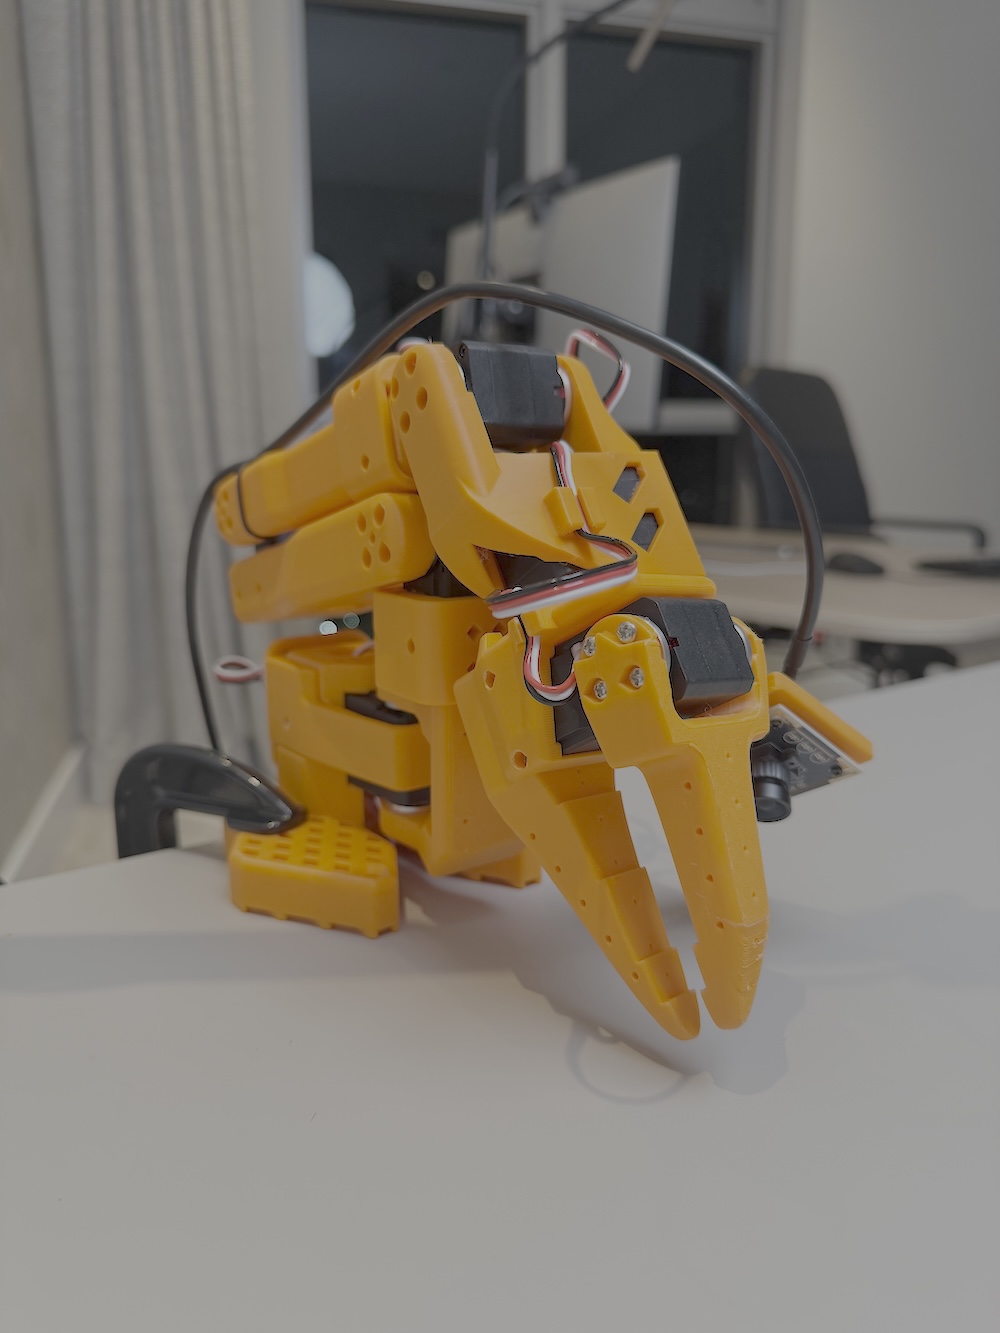
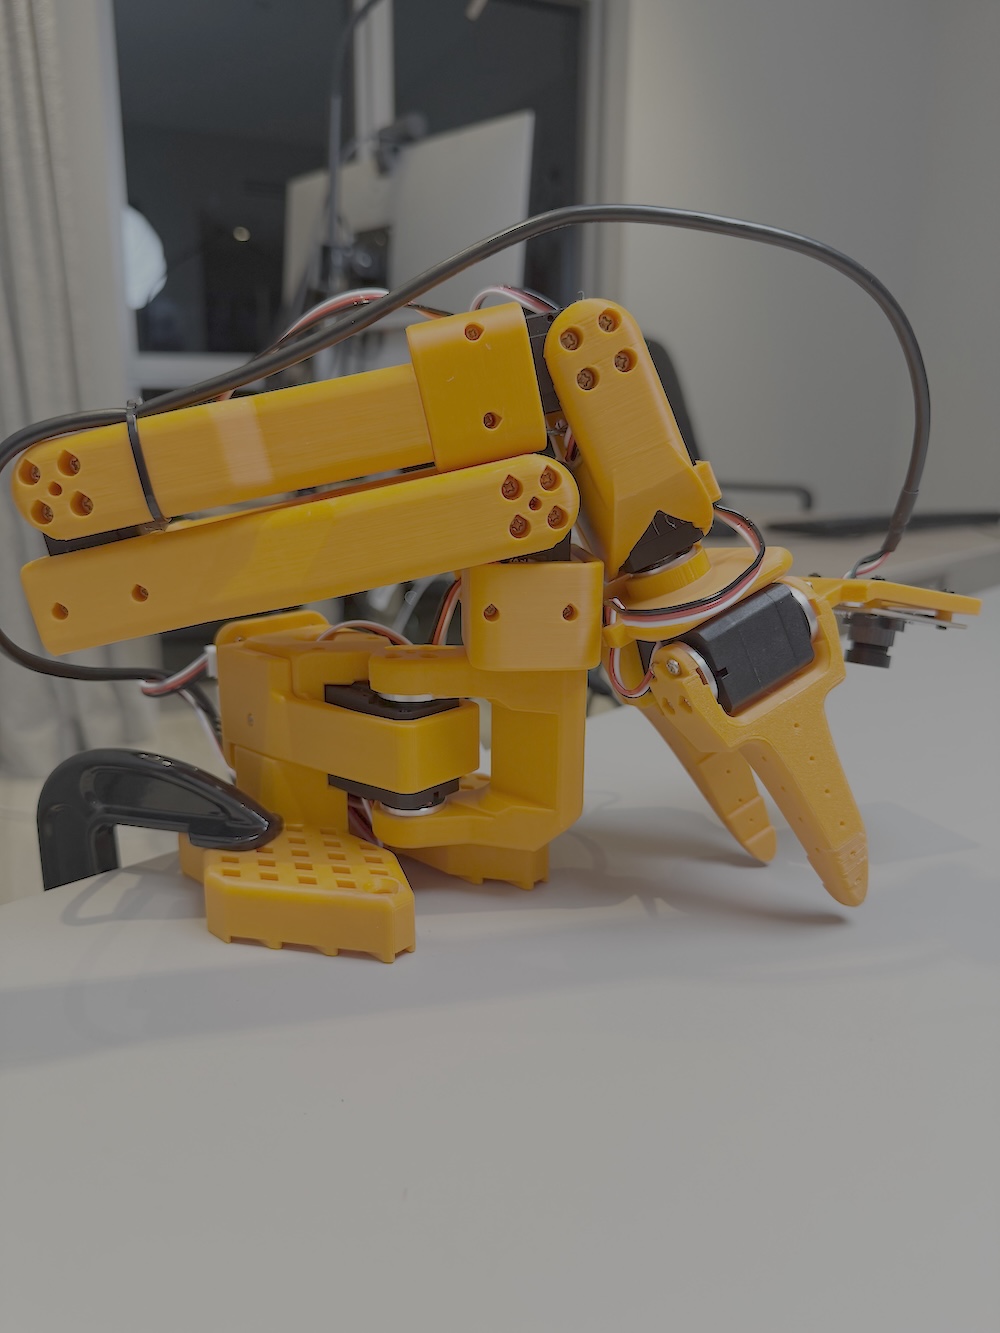
This is what you end up with after assembly: the leader and follower arms.
Leader arm — the arm you use to control the robot, almost like a joystick:
Follower arm — the actual robot that carries out and follows your instructions:
Setup Tips
Both arms connect directly to your computer via USB ports — no Raspberry Pi or Arduino required. Still, your computer setup matters:
-
A
dedicated GPUwill make your life much easier (I treated myself to the insanely pricey RTX 5090). You can run and train smaller models (like ACT) on a MacBook, but fine-tuning larger models such asNVIDIA GR00T N 1.5orSmolVLAis practically impossible since most libraries only support CUDA. You could try Google Colab or RunPod, but I found it inconvenient to always be hunting for available GPUs. Plus, later on you’ll likely want to experiment with NVIDIA Isaac Sim and Isaac Lab — and cloud rentals won’t help there. So if you plan to stick with this hobby, investing in something like anRTX 4090 (or better)will save you a lot of frustration. -
From my experience, a bare-metal installation of
Ubuntu 24.04(Linux) caused the fewest headaches. You can run LeRobot on macOS, Windows, WSL, or even Docker, but I’ve seen many people run into problems there. In the long run, you’ll find that most robotics and AI libraries treat Linux as their primary, tier-one platform. -
If possible, set up a
dedicated tablefor this hobby. Ideally, place the leader and follower arms so you can’t directly see the follower while recording datasets — instead, observe it through the robot’s webcams (I’ll cover this more in future articles).
Wrapping Up
If you reach this stage and have a fully assembled robot, my advice is to start with teleoperation and then explore the SmolVLA model for your first experiments.
Don’t expect a magic solution where you just type a prompt and the robot instantly performs pick-and-place. You’ll need to train the model before it can do that. You may also need an extra front-view camera, but after a few evenings of experimentation you’ll start getting results like this:
Have fun building, experimenting, and learning!