Installing NVIDIA Isaac GR00T on Ubuntu 24.04 with an RTX 5090
If you’re like me and just bought a brand-new NVIDIA RTX 5090 and want to play with NVIDIA Isaac GR00T and Lerobot, you’ve probably instantly bumped into "RuntimeError: CUDA error: no kernel image is available for execution on the device" when trying to start fine-tuning with GR00T.
As of August 2, 2025:
-
PyTorch 2.5.1does not work with RTX 5090. You need to upgrade to version 2.7.0 or later. -
FlashAttention2officially supports only Ampere, Ada, and Hopper GPUs (A100, RTX 3090, RTX 4090, H100).
The CUDA ecosystem moves fast, and new releases could break the instructions in this article overnight.
STEP 1: Install GR00T
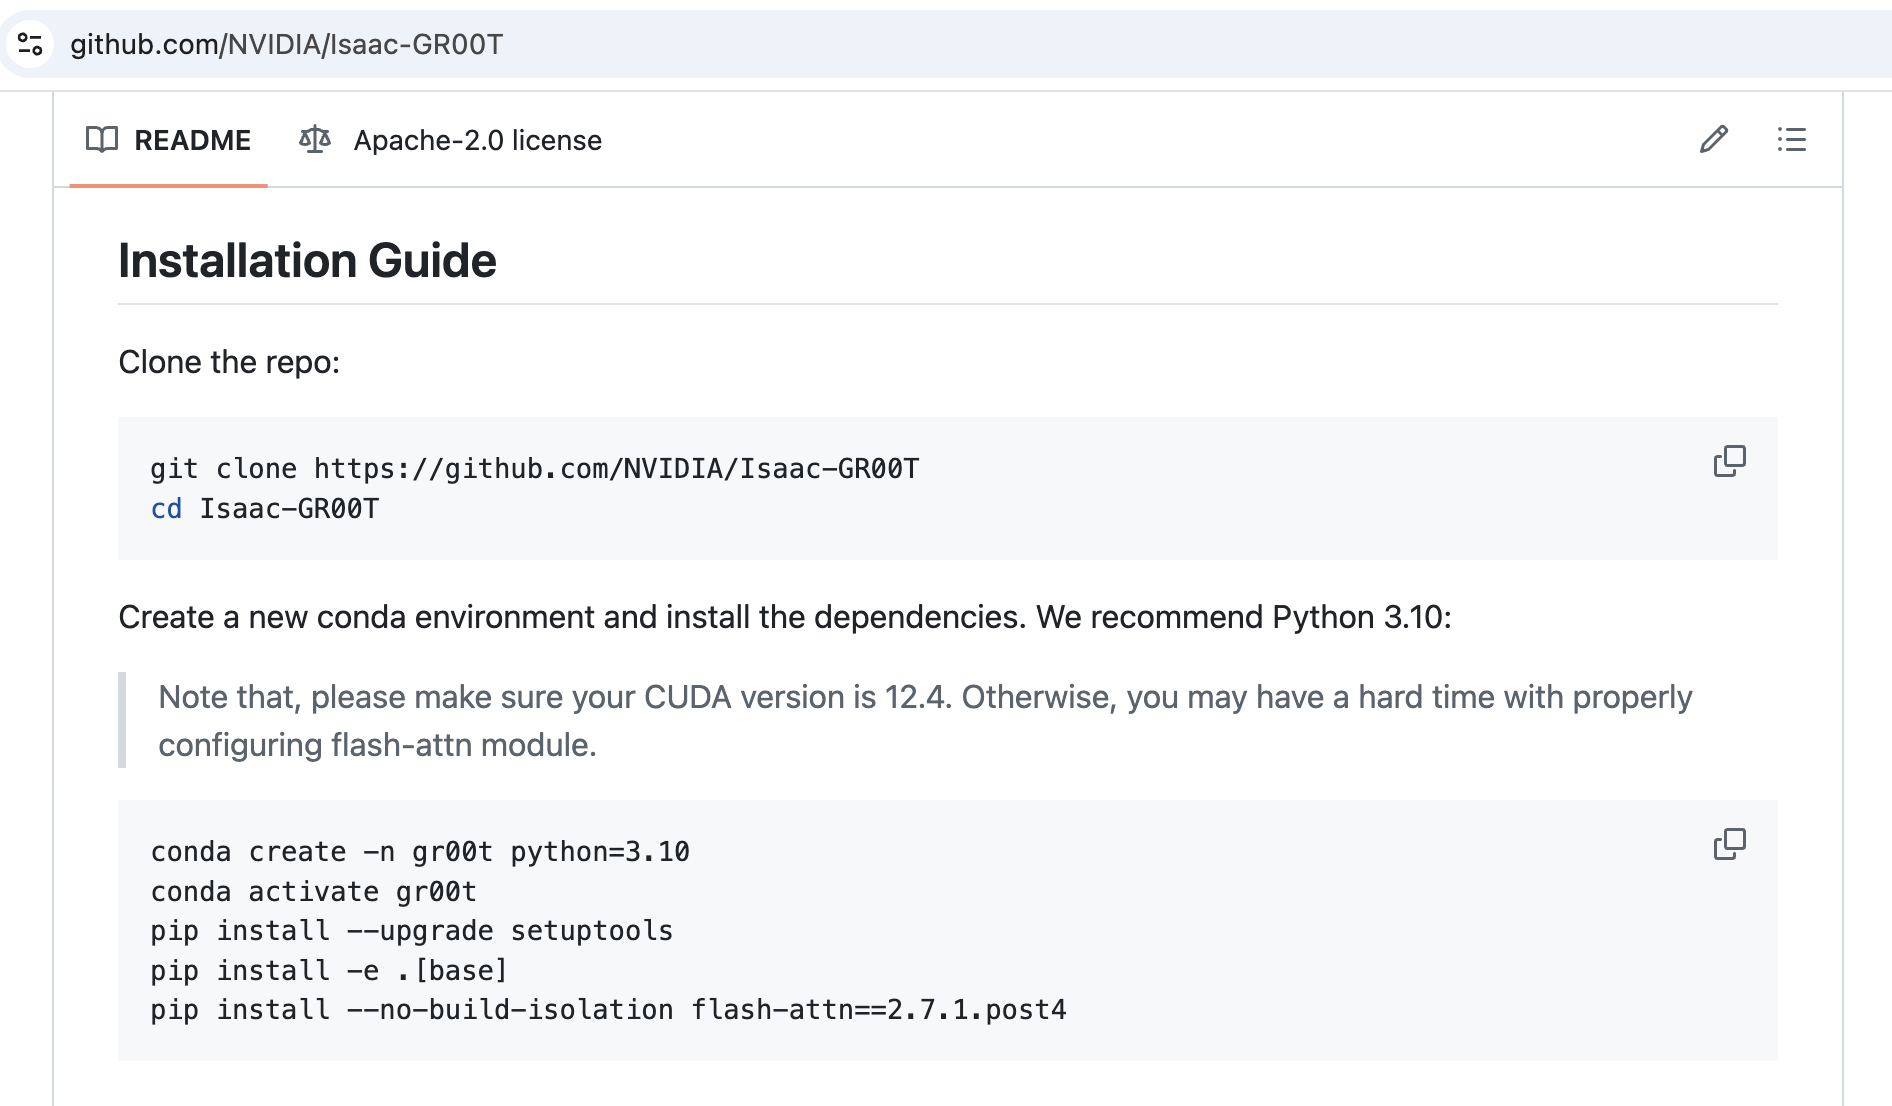
Follow the instructions on the Isaac‑GR00T GitHub page. At the time of writing, the relevant section looks like this:

Hovewer running python scripts/gr00t_finetune.py immediately throw RuntimeError: CUDA error: .... So let's fix it.
STEP 2: Upgrade PyTorch
GR00T currently bundles PyTorch 2.5.1, which lacks sm_120 (Blackwell) support.
Install PyTorch 2.7.1 (CUDA 12.8 build):
STEP 3: Prepare the Flash Attention build
STEP 3.1: Install CUDA 12.9 Toolkit
You’ll need a fresh CUDA toolkit to compile Flash Attention, so first check which version you have:
If the version is older or nvcc is missing - install CUDA 12.9.1:
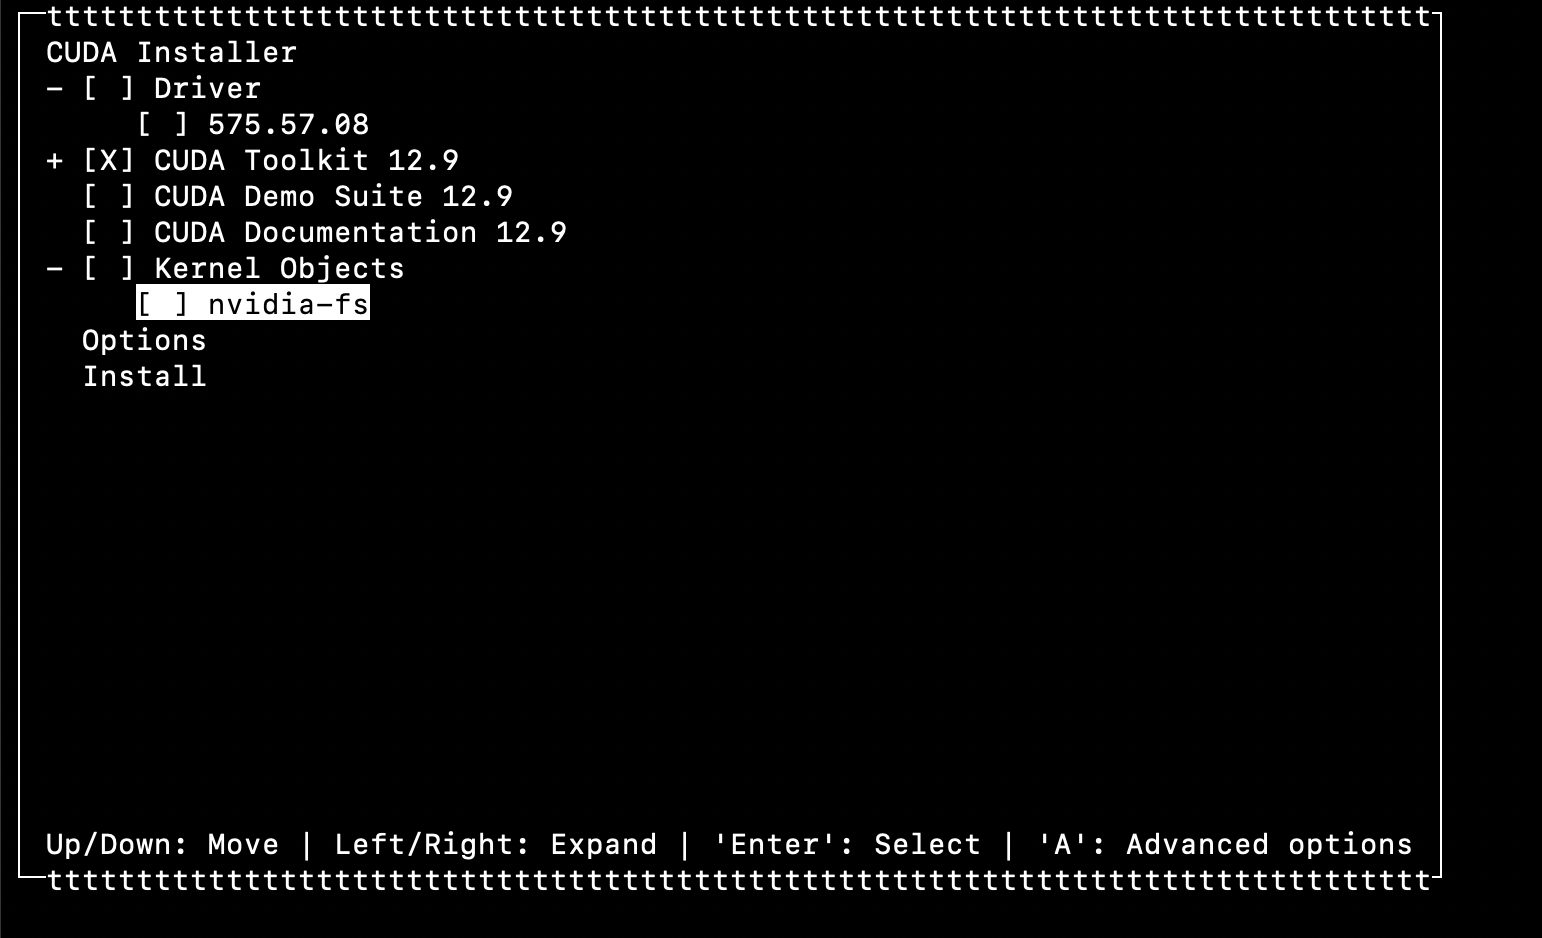
During installation choose only the toolkit and uncheck the driver (I’m assuming your GPU driver is already working - if not, read this).
It should look like this:

STEP 3.2: Verify CUDA Toolkit installation
Run nvcc --version again. You should see the same 12.9 build info (see step 3.1). Also verify the CUDA_HOME variable:
If CUDA_HOME is empty:
Use only the base path /usr/local/cuda-12.9 and add these lines to ~/.bashrc or ~/.zshrc:
Reload the environment:
STEP 3.3: Install Ninja
Without Ninja the build of Flash Attention 2 can take hours.
STEP 3.4: Clone Flash Attention 2 repository
STEP 4: Compile Flash Attention 2
Before you start compiling, pay attention to the MAX_JOBS setting—it controls how many threads the build uses. On my machine (128 GB RAM and an Intel Core Ultra 9 285K with 24 cores), MAX_JOBS=10 ran smoothly while using only about half of the memory. If you set the value too high, you may run out of RAM, so experiment to find the sweet spot. 4 is usually a safe choice for most PCs.
This is the single most important setting in the entire process: FLASH_ATTN_CUDA_ARCHS=120 tells setup.py that we're compiling for the RTX 5090’s Blackwell architecture (sm_120).
On my hardware, the build took about 20–30 minutes.
STEP 4.1: Verification
Run the unit tests:
My run finished with:
I consider that a success.
If you get the same result - congrats! Now you can proceed to fine-tuning with GR00T.